In-checkout validation setup
In-checkout validation checks the shipping address inside Shopify checkout, before the customer places the order. It helps you stop invalid addresses early.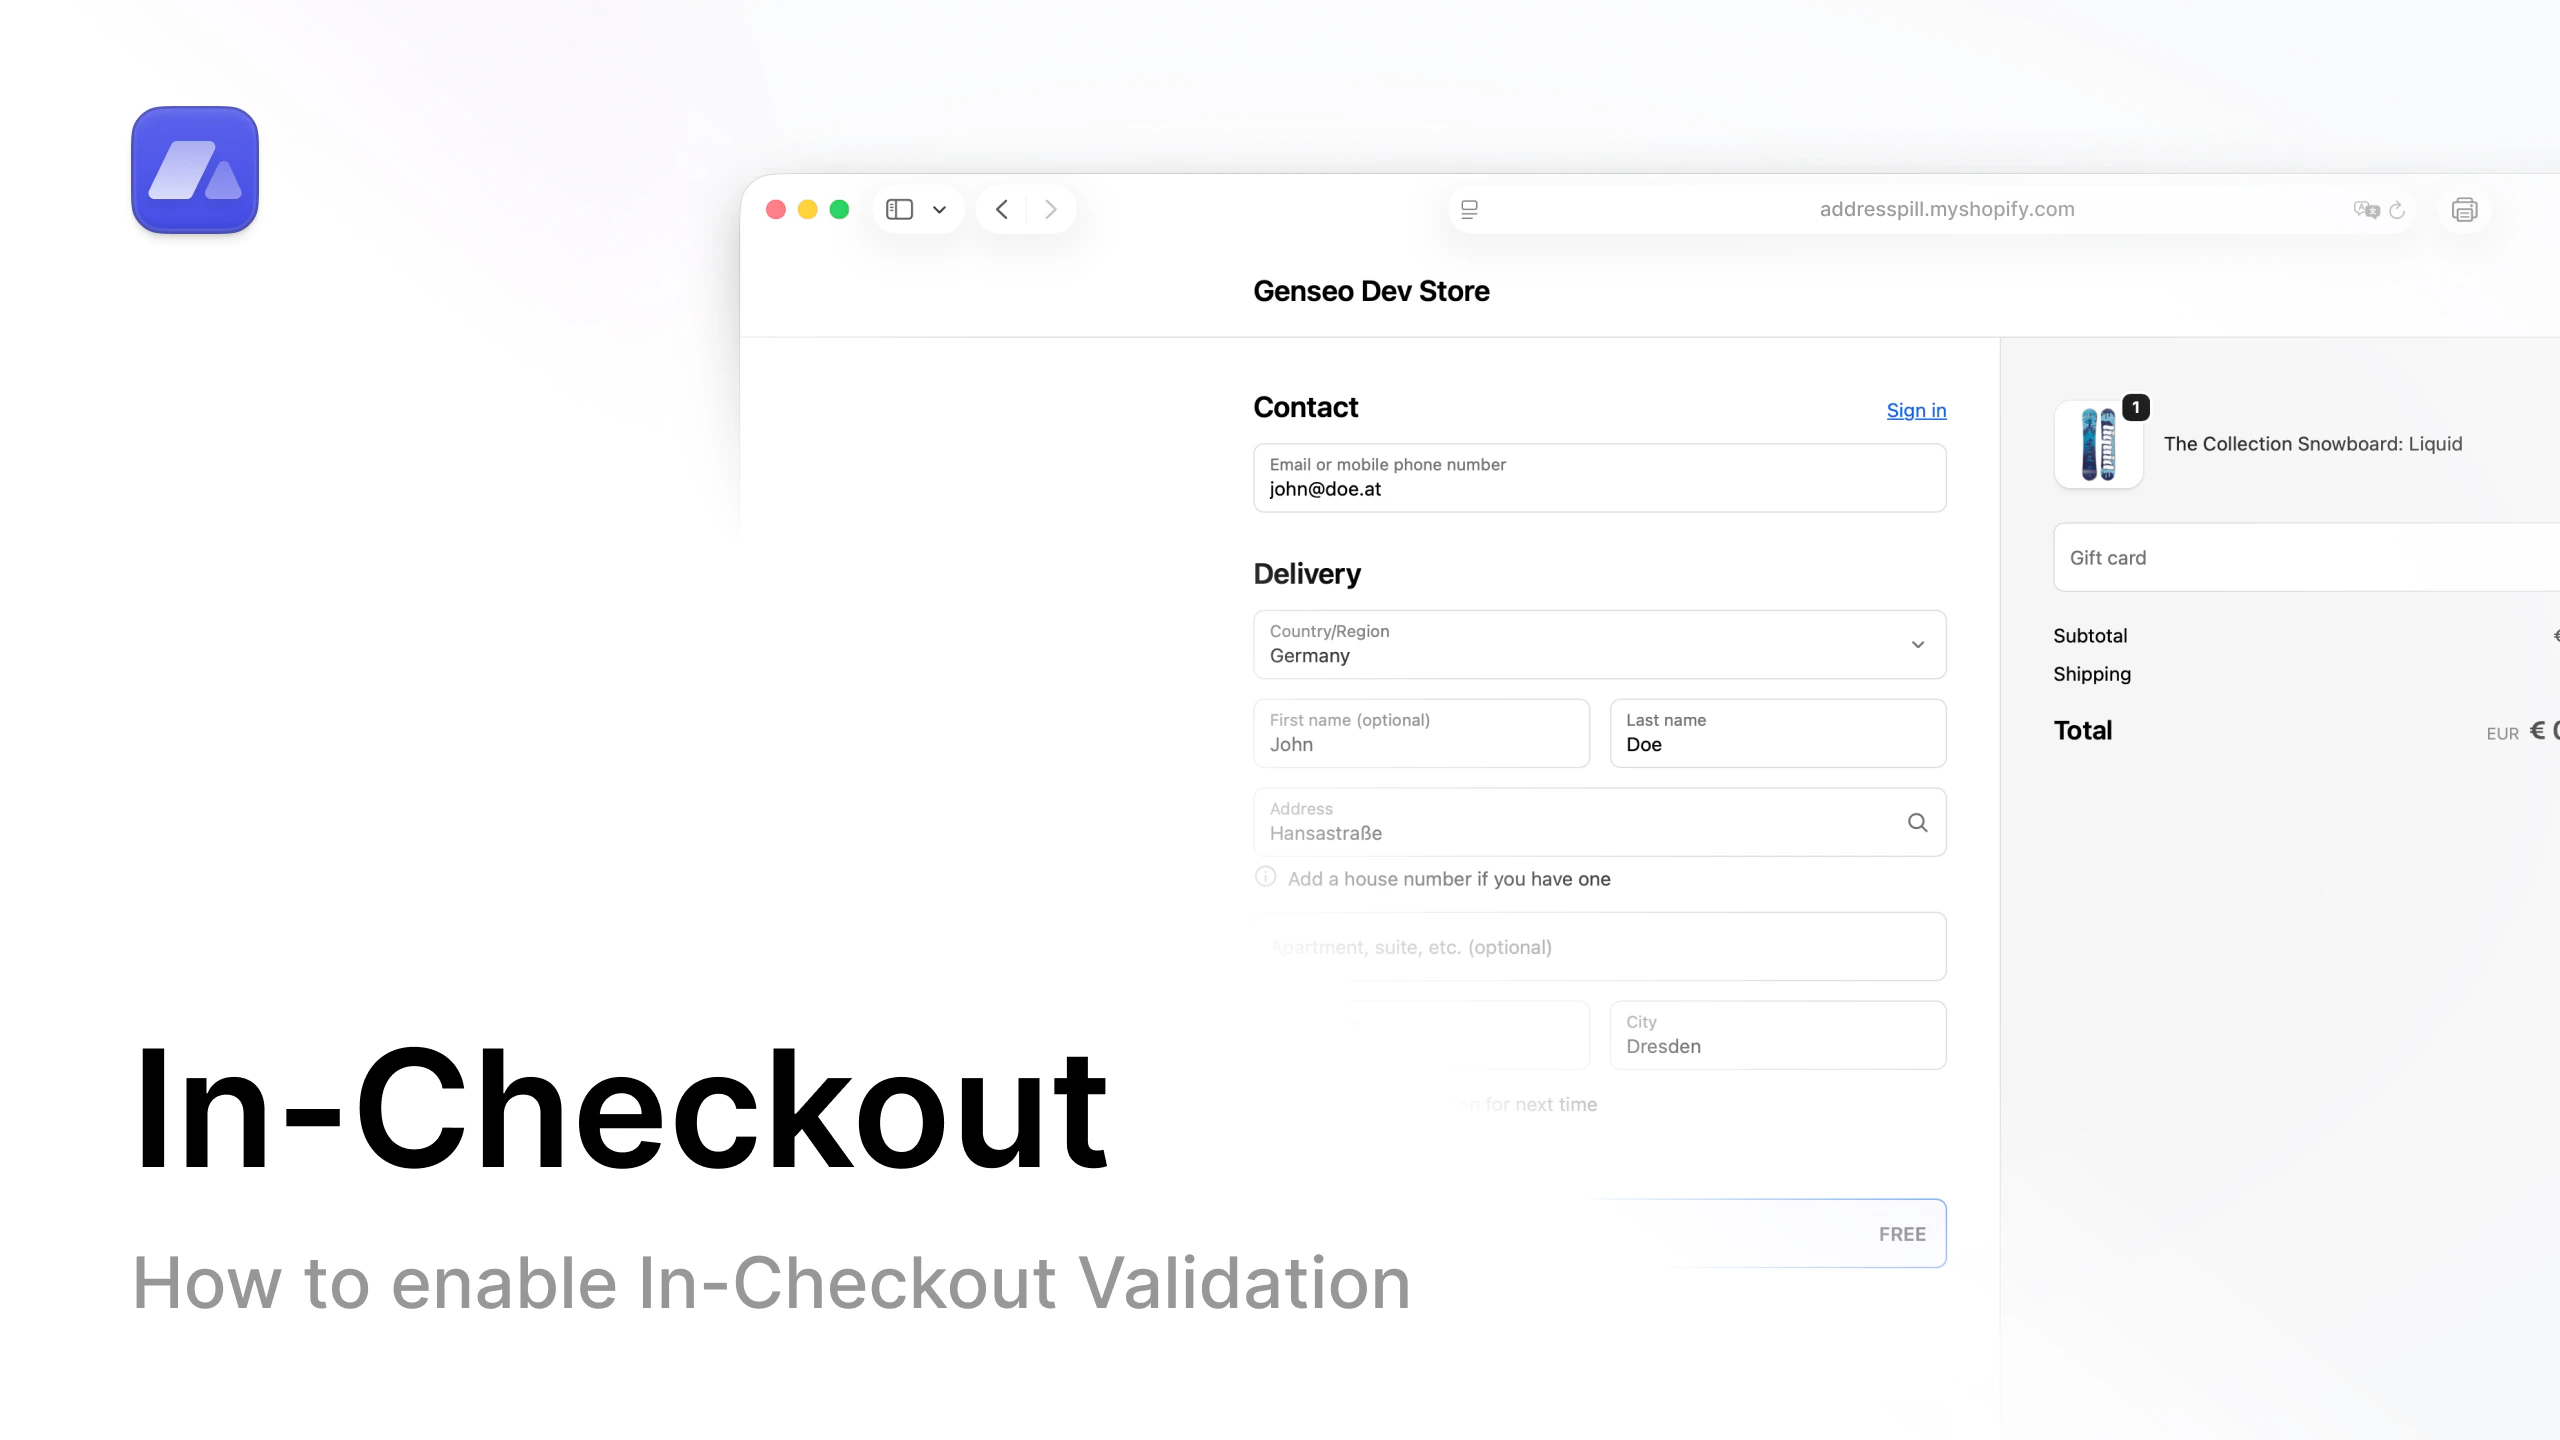
Watch tutorial
Open the in-checkout setup video on YouTube.
Step-by-step
- In AddressPill, open Settings.
- If you do not have a plan yet, choose a plan first.
- Turn on In-checkout validation.
- Enable the checkout rules you want.
- Click Save settings.
- In Shopify admin, open Settings (bottom-left).
- Open Checkout.
- Scroll down to Checkout rules.
- Open AddressPill Checkout Validation.
- Click Turn on.
- Select Allow all customers to complete checkout.
- Click Save.