Post-checkout validation setup
Post-checkout validation runs after checkout. It checks addresses on the Thank You and Order Status pages. This is useful if you want lower checkout friction while still catching issues.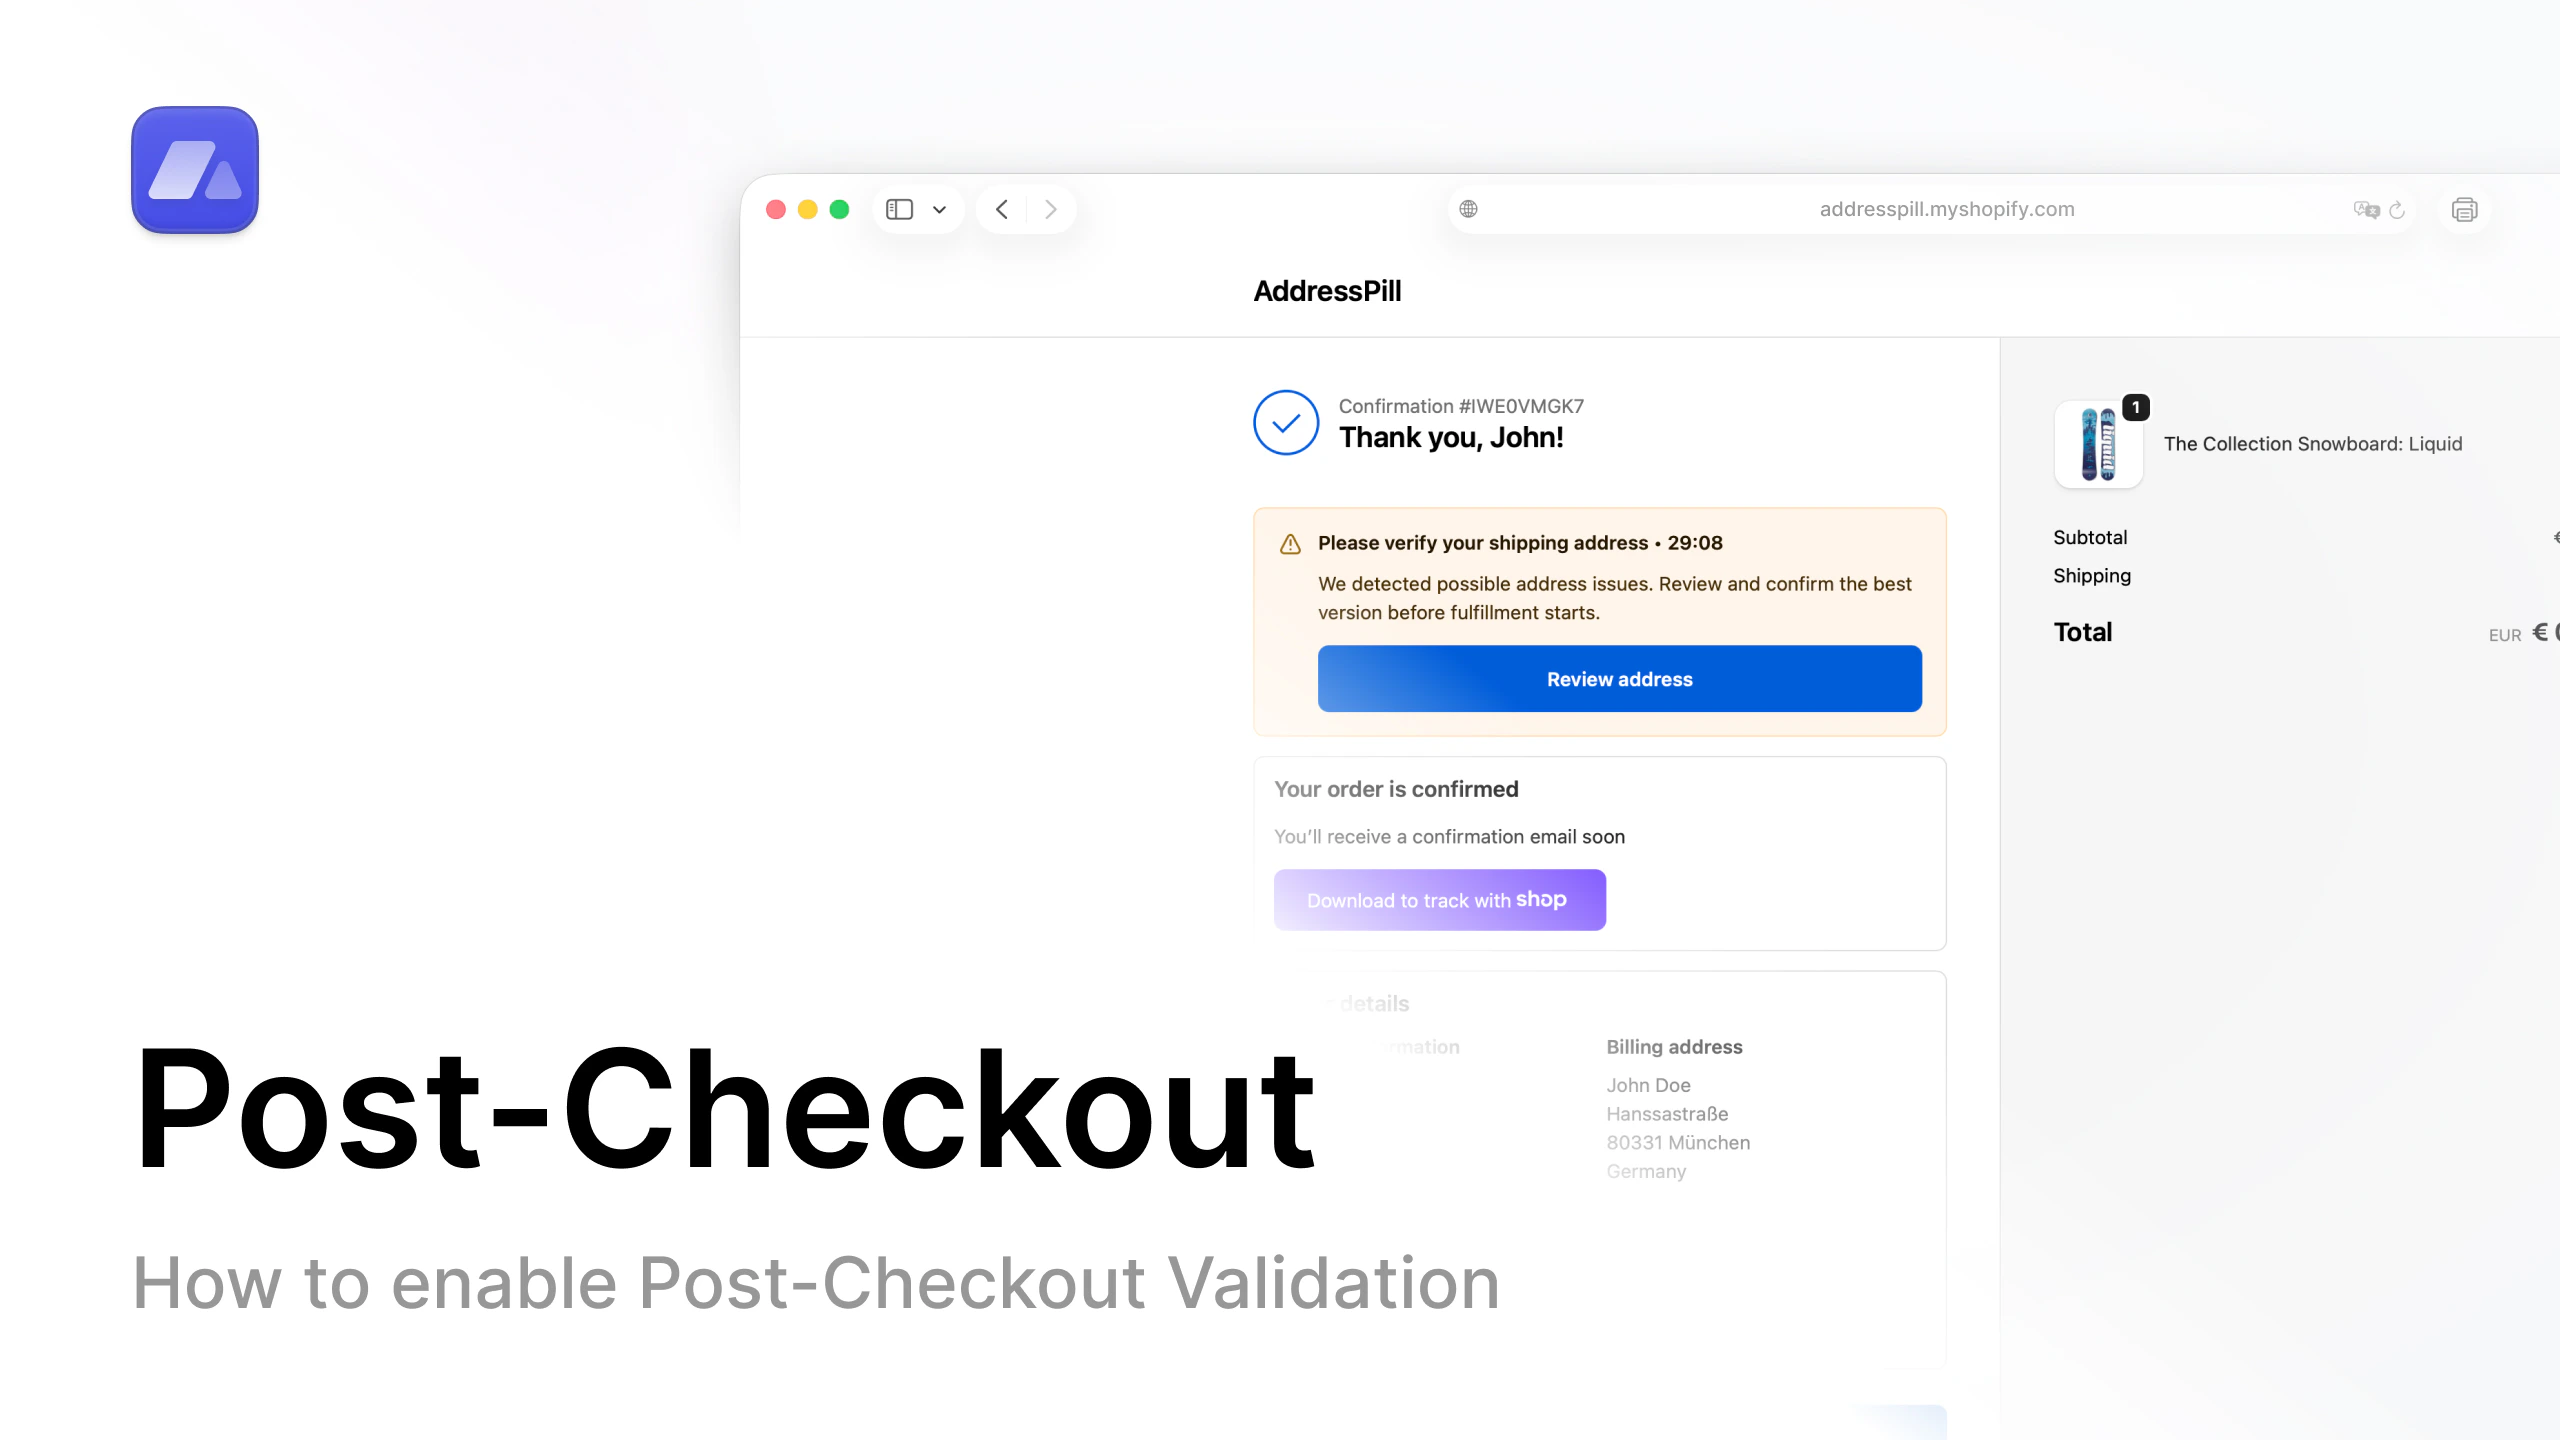
Watch tutorial
Open the post-checkout setup video on YouTube.
Step-by-step
- In AddressPill, open Settings.
- Open the Post-checkout validation tab.
- If you do not have an active subscription, choose a plan.
- Turn on Post-checkout validation.
- Enable the post-checkout features you want.
- Click Save settings.
- In Shopify admin, open Online Store.
- Open Themes and click Edit theme.
- In the top bar, switch page selector to Checkout and customer accounts.
- Click Apps (top-left).
- Add AddressPill thank-you-validation with the plus button.
- Select Thank you.
- Switch to All, click plus again, and select Order status.
- Save theme changes.